|
Getting your Trinity Audio player ready...
|
Neutral Density filters, as we all know, reduce the amount of light that enters the camera. They are placed in front of the lens to reduce the amount of light that reaches the camera’s sensors. It’s the same as covering your eyes with sunglasses. ND filters are available in strengths ranging from one to ten thousand.
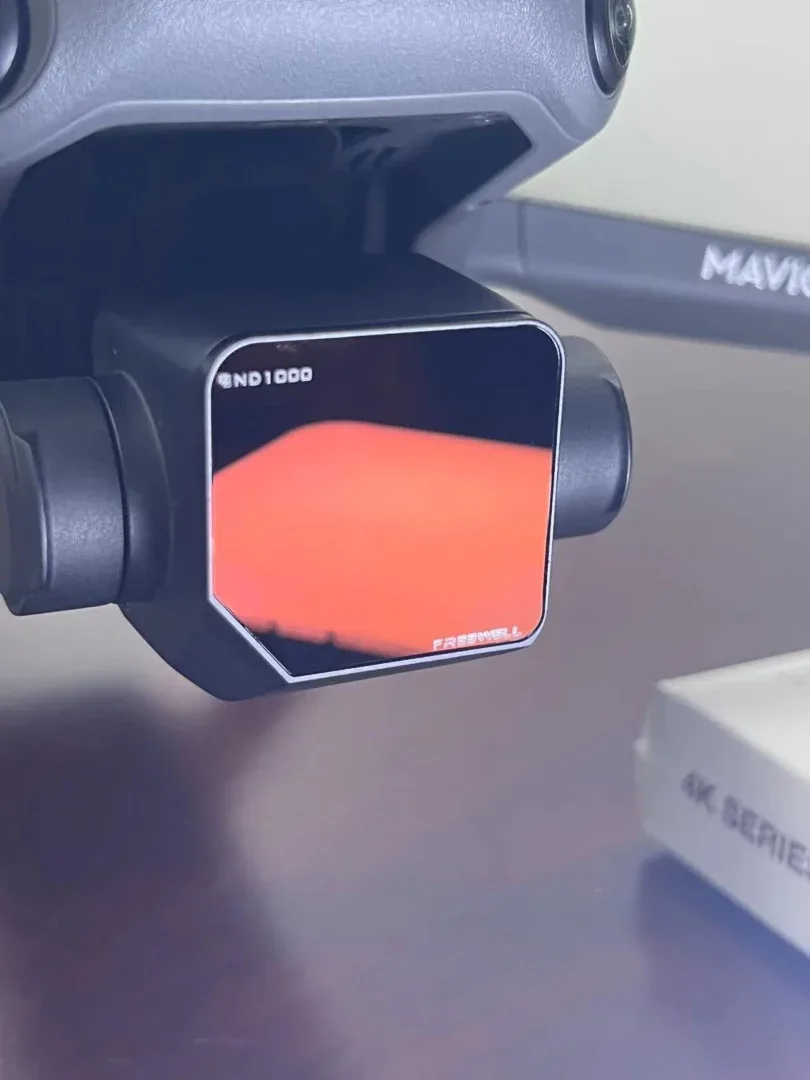
What exactly is the ND1000 filter?
The ND1000 is a 10-stop filter that can be used to create stunning artistic images. It slows down the shutter speed to 1-20 seconds depending on the aperture size, resulting in smooth skies and water. With the ND1000 filter, one may take their photography to a whole new level.
Prepare your shot: Get the tripod; it’s a must-have, and the 10-stop filter won’t work without it. Make sure the tripod is on a firm foundation, that it is weighted if necessary, and that nothing can fall on it. To reduce the vibration, use a remote release.
The camera is now on a tripod, and the remote control is in hand. Put the filter on and move closer to the subject; this is an important step because the ND1000 does not function well with all subjects. Then there are the camera settings, where you may choose from water or the sky. Reduce the ISO setting to 100 or 200. Set your aperture to f/8 or f/11 and go to manual mode on your camera. Aim for 6+ seconds up to roughly 30 seconds for a stunning smooth image. The longer the exposure, the more likely minor vibrations will be amplified.
A tripod, a remote, a decent subject with movement in the sky or water, a low ISO, a set aperture, and shutter speed are all crucial variables for stunning creation.
Have fun with ND1000 filters.