iPhone night filmmaking guide
Clean night clips.
Then the anamorphic look.
Night footage fails when ISO climbs, focus hunts, and lights smear. Lock exposure first. Add the 1.33x squeeze after your frames already look clean.
Most iPhone night videos look muddy for the same three reasons: Auto ISO races upward, focus breathes every time a headlight crosses the frame, and the phone keeps rewriting exposure mid-clip. Fix those before you chase flares.
This guide is education first. Part one is how to keep night clips clean, using real Freewell night tutorial frames. Part two is how a 1.33x anamorphic lens turns those clean frames into a widescreen, streak-flare look. Freewell gear shows up only where it solves a real night or dusk problem.
Direct answer: Clean iPhone night video starts with locked exposure and focus, a shutter near double your frame rate, and ISO raised only after that. Auto ISO and AE pumping cause most muddy night clips. Add a 1.33x anamorphic lens only after native-lens night footage already looks clean; the squeeze and flares will not fix noise or focus hunting.
What makes iPhone night video look dirty?
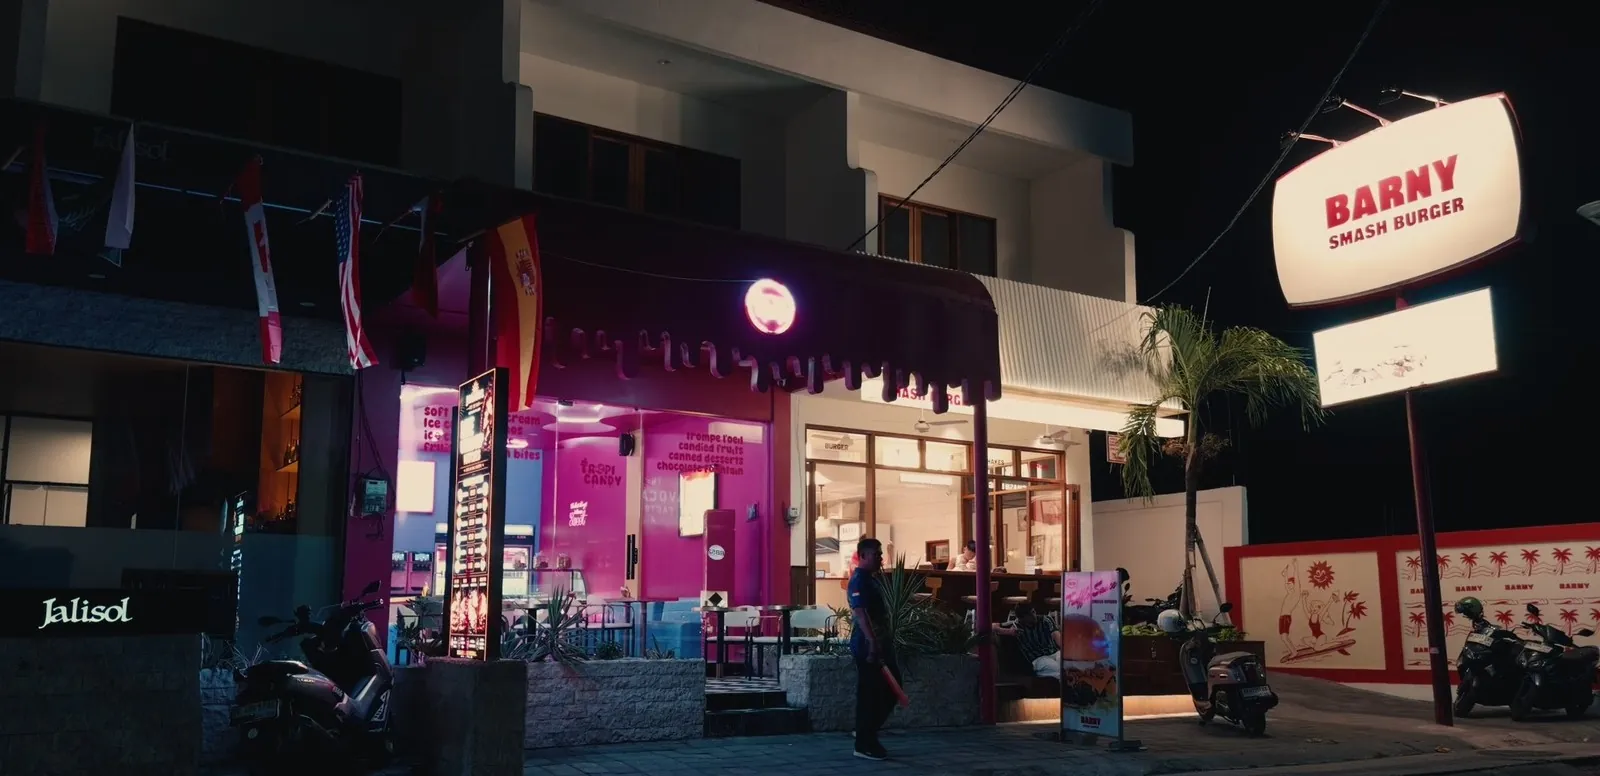
Night is not just “less light.” It is high contrast: dark pavement next to neon, car headlights, shop windows, and phone screens. The Camera app tries to average that contrast, so faces go dark while signs blow out, or the whole clip gets a grainy lift.
Three habits create most of the mess:
- ISO panic: Auto exposure pushes ISO until the frame looks bright on the screen. Grain and color blotches follow.
- Unlocked AE/AF: Walk past a storefront and the phone refocuses and re-exposes. Your cut becomes a strobe of brightness changes.
- Wrong shutter for motion: At night, a very fast shutter freezes noise into a crunchy still. A shutter near double your frame rate keeps motion natural without asking ISO to climb as hard.
What night settings keep iPhone clips clean?
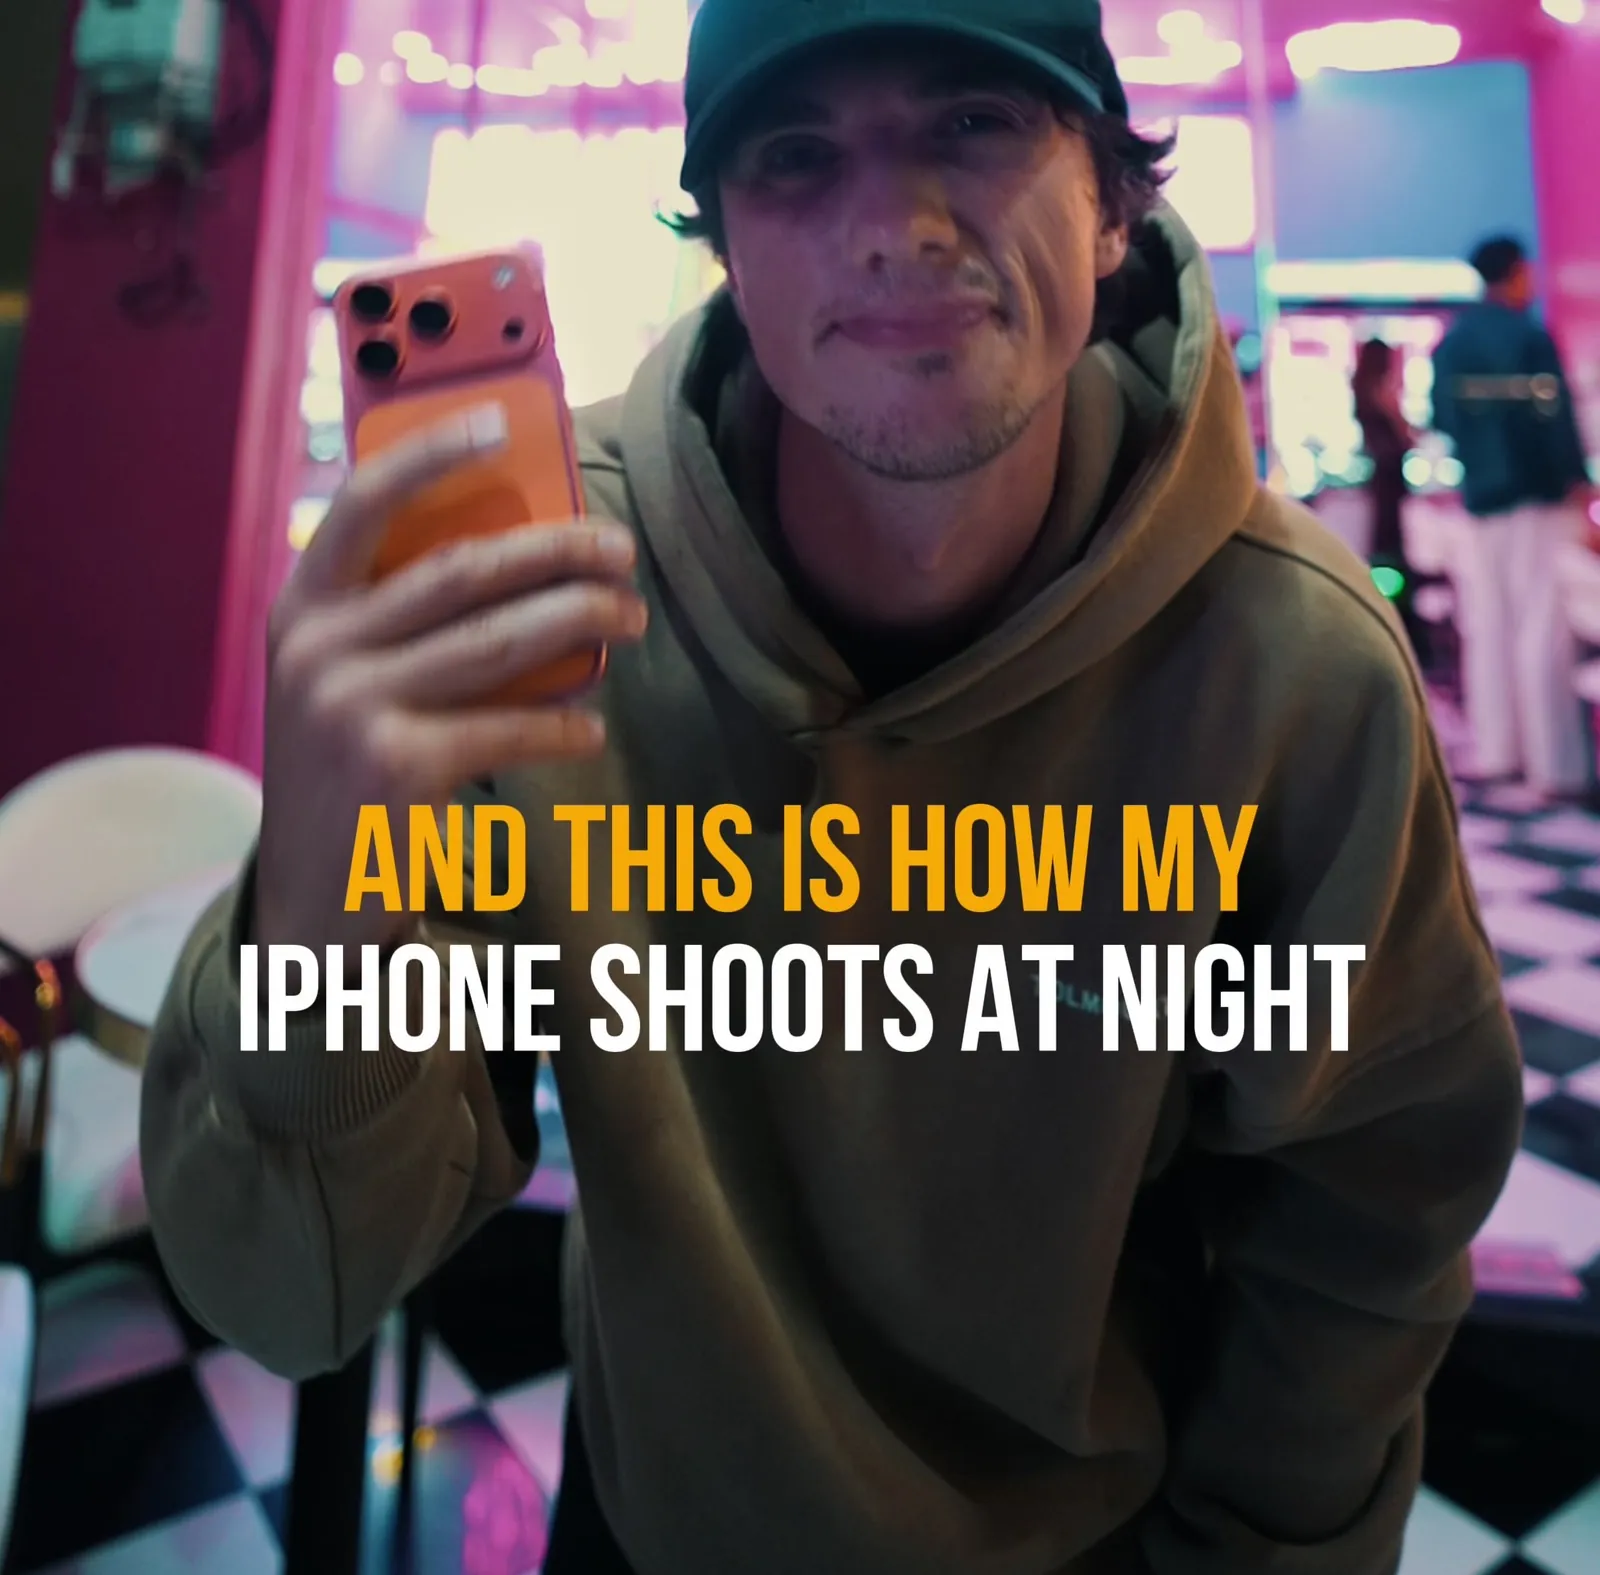
The tutorial walks through Blackmagic Camera on iPhone. The same ideas work in any manual app, or with AE/AF Lock in the native Camera app. Goals stay simple: honest ISO, cinematic shutter, locked exposure.
Exposure
Keep ISO honest
- ISO habit
- As low as usable
- Prefer
- Slightly dark file
- Avoid
- Screen-bright Auto
- Lift later
- In edit, gently
- Why
- Noise hides detail
RuleIf it looks perfect on the phone at night, ISO is probably too high.
Motion
Shutter near 180°
- 24 fps
- ~1/48
- 25 fps
- ~1/50
- 30 fps
- ~1/60
- Night tip
- Do not freeze everything
- Trade
- Blur beats crunch
RuleMatch shutter to frame rate first, then negotiate ISO.
Start with shutter, not brightness
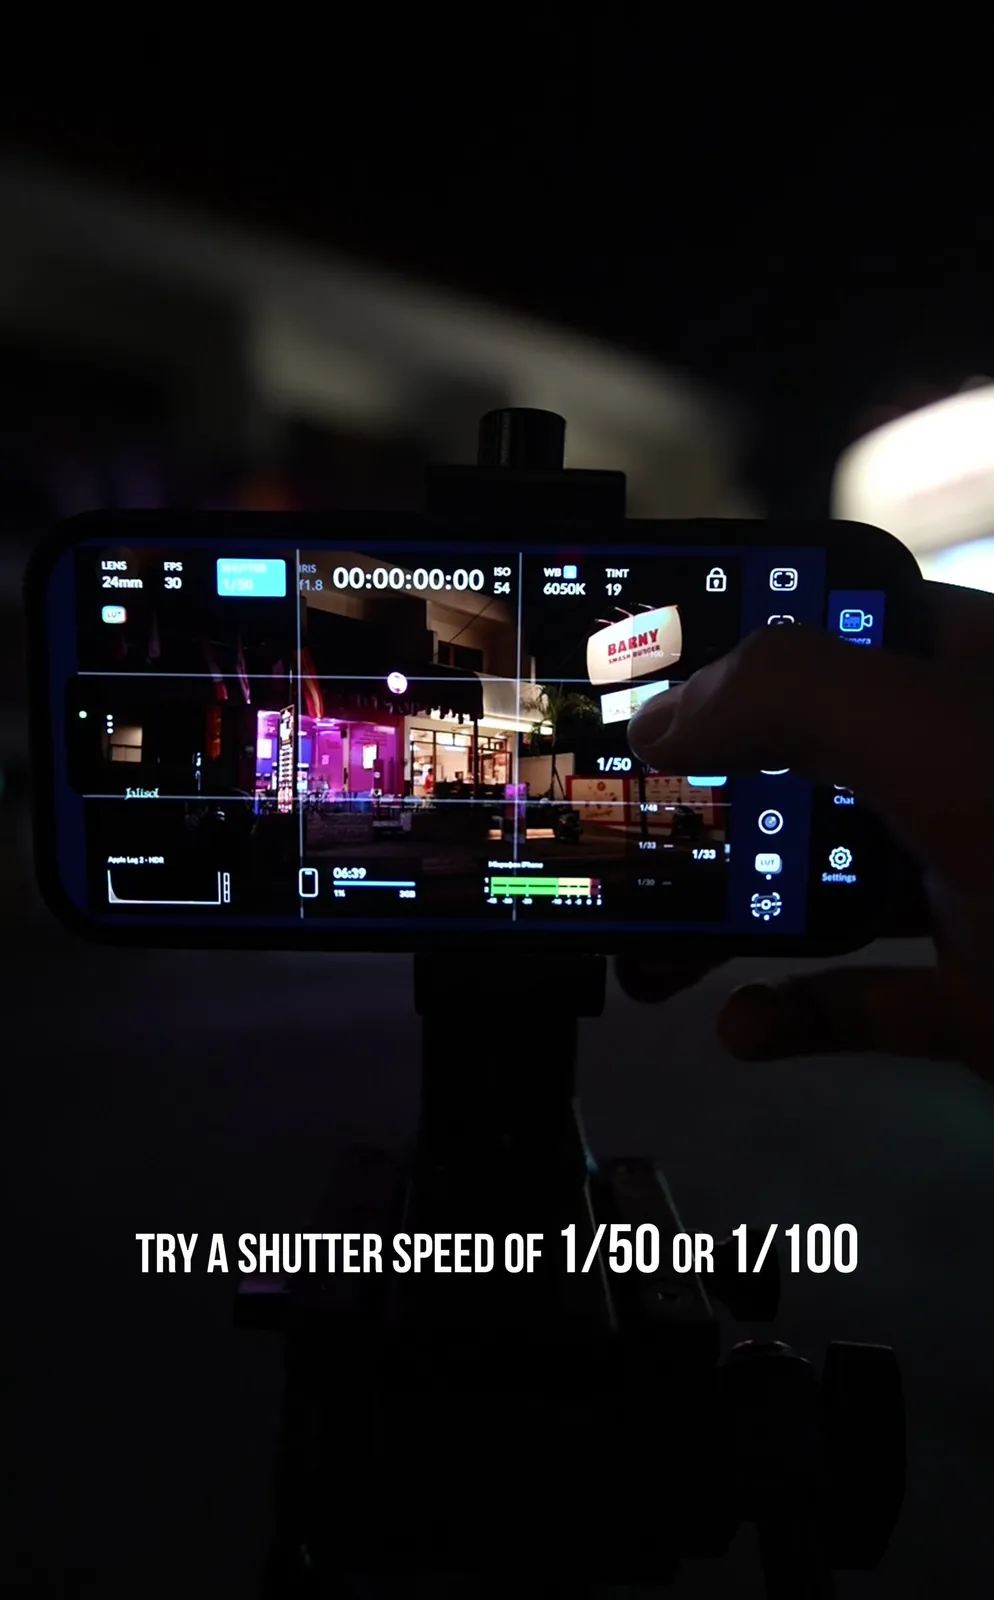
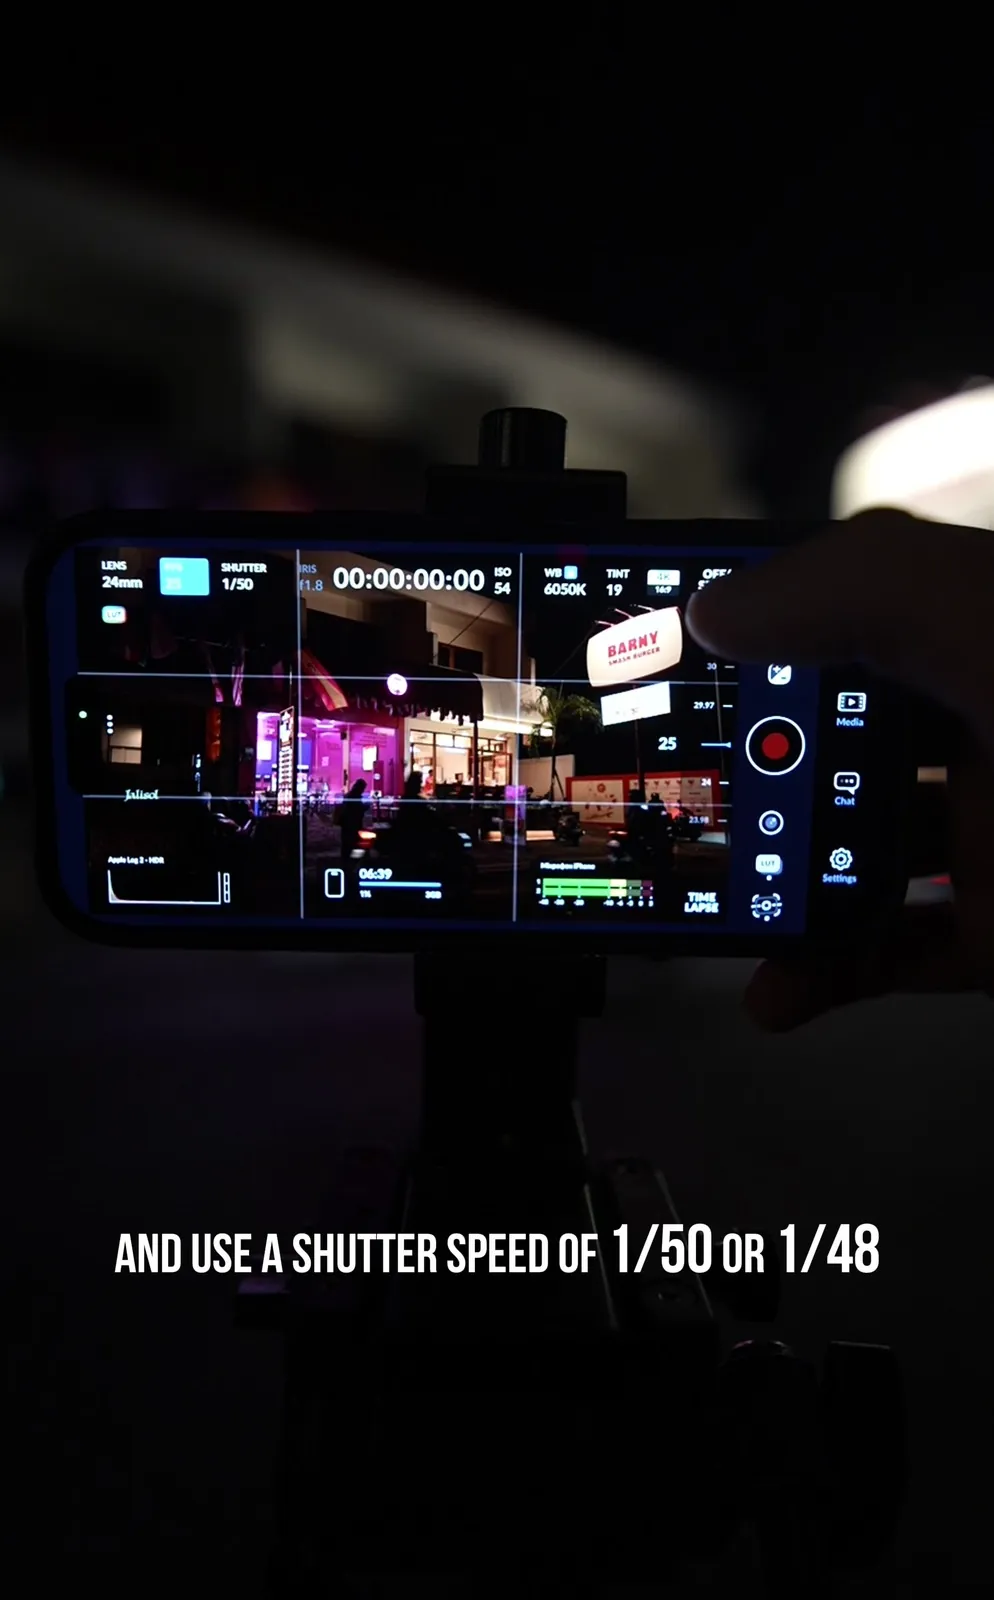
In the tutorial, the phone sits on a tripod while Blackmagic Camera shows live neon. First move: pick a usable shutter for your frame rate. At 30 fps, try around 1/50 or 1/60. If the image is still too bright with low ISO, you can nudge faster. If you want the classic film cadence, switch to 24 fps and park near 1/48.
Raise ISO only after shutter is locked
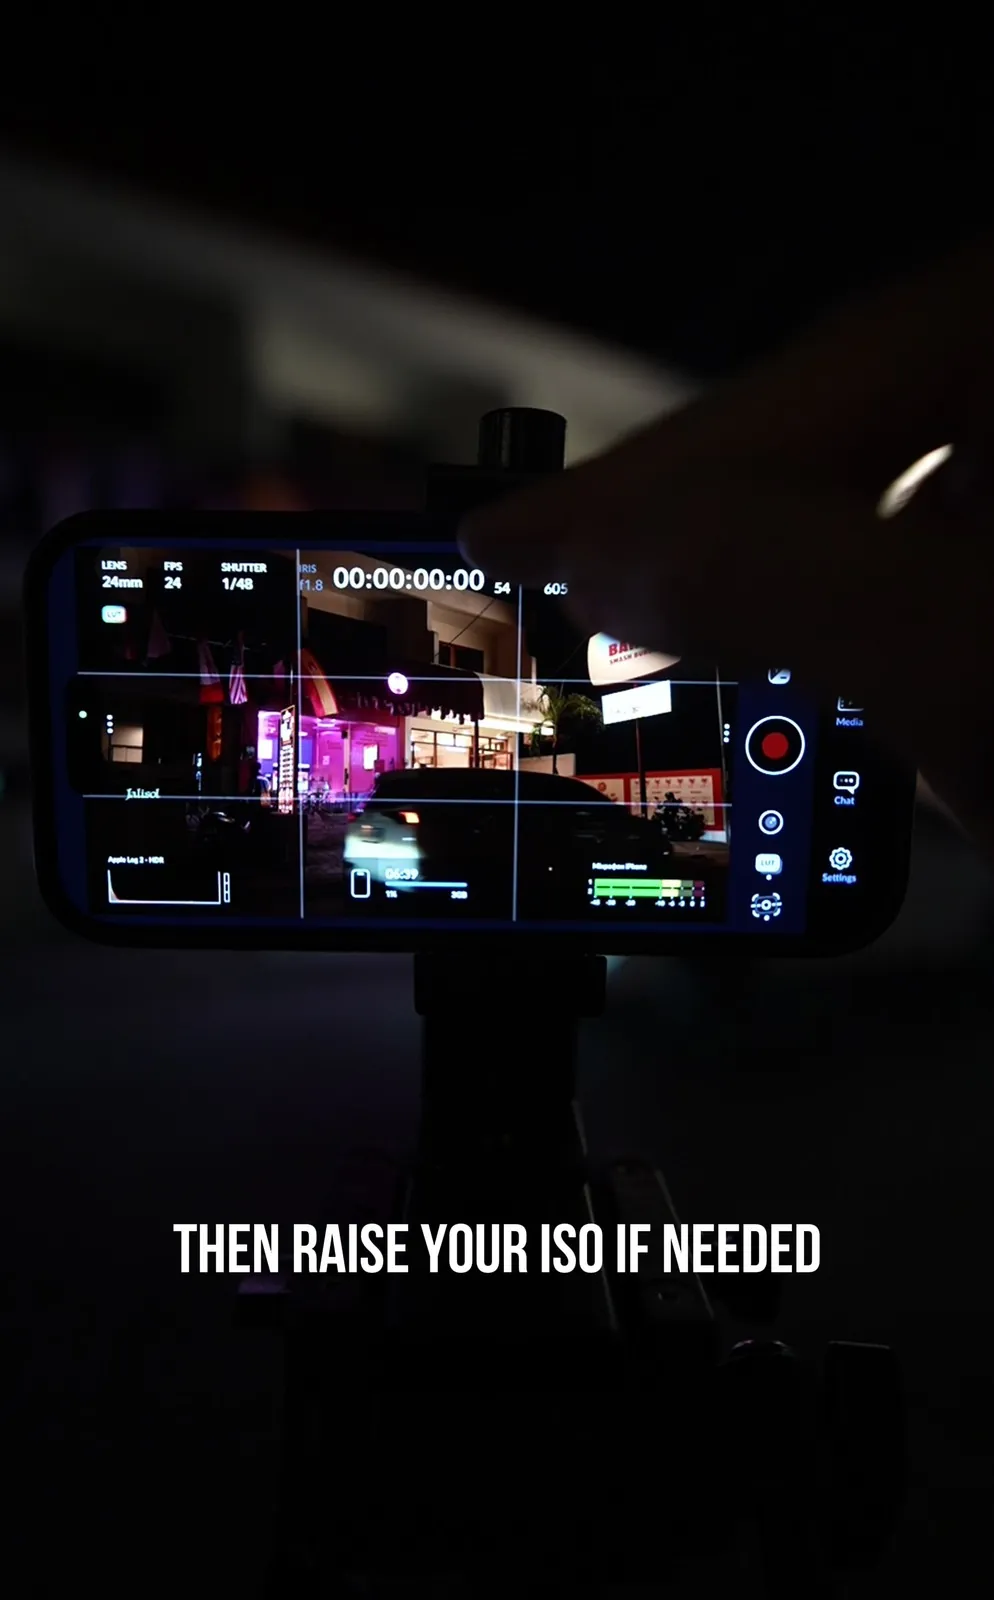
Once shutter and frame rate are set, lift ISO just enough for the light you care about. Expose the neon edge and any face under a practical. Let empty alleys stay black. The tutorial line is blunt on purpose: raise ISO if needed, not first.
White balance stops the yellow night cast
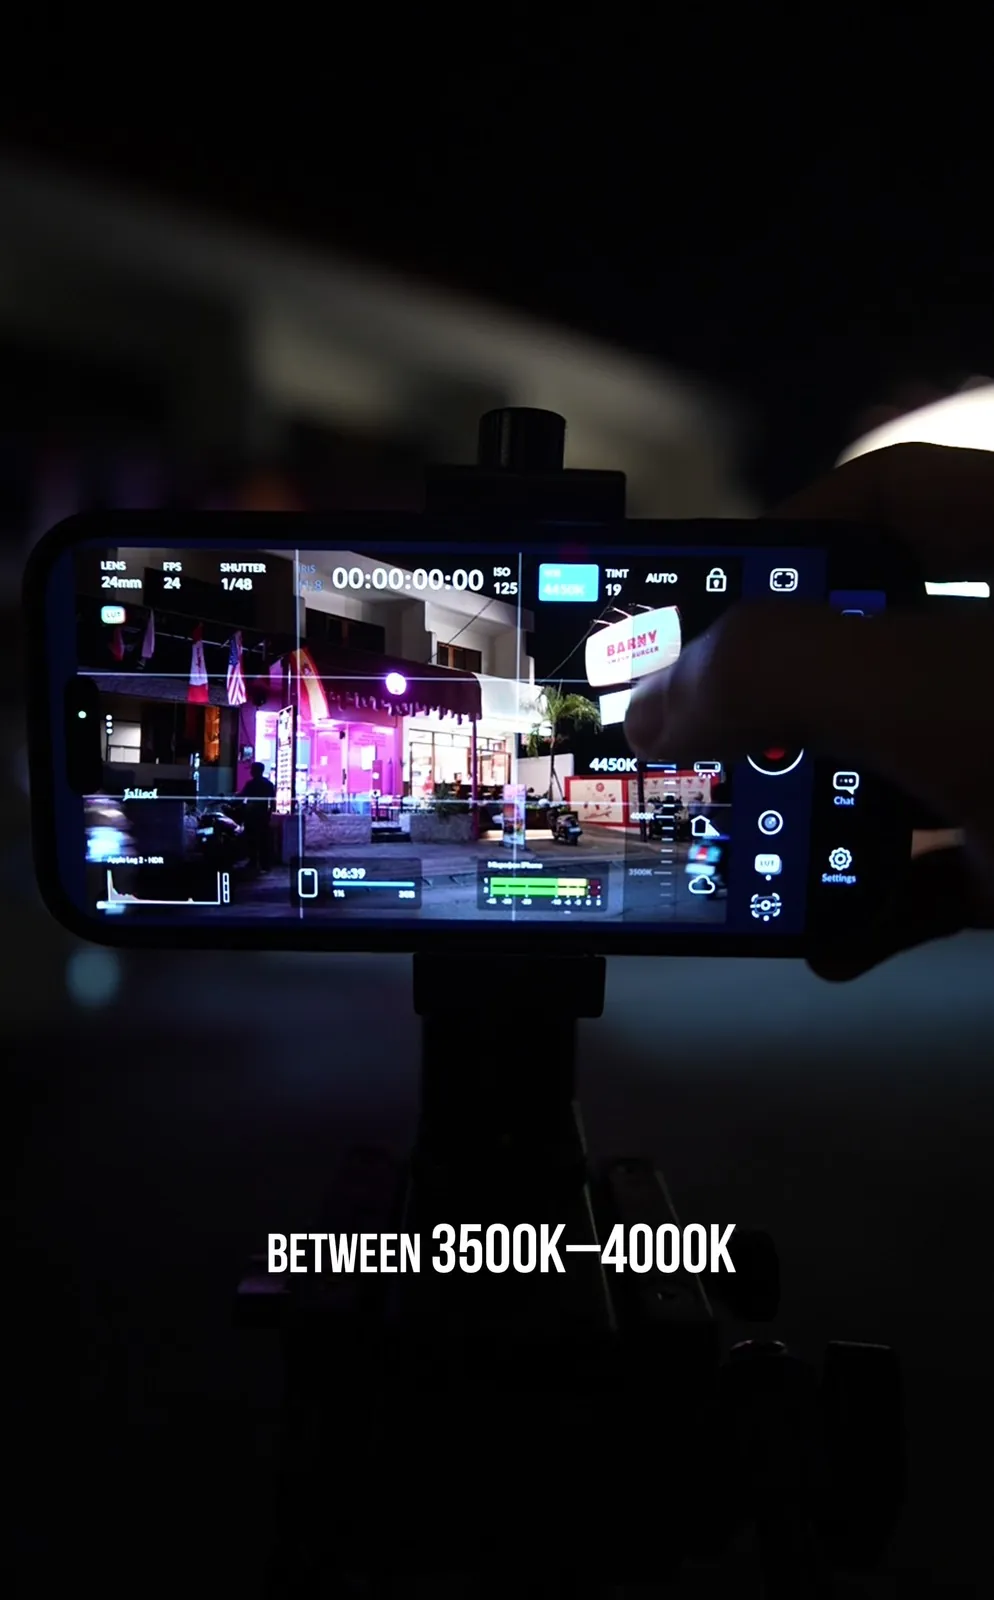
Street sodium and mixed LEDs push Auto white balance toward muddy yellow. Lock a cooler night kelvin so neon pinks and sign whites stay intentional. In the tutorial, the target band sits roughly in the mid-thousands Kelvin, then you fine-tune by eye on the storefront you are filming.
Lock AE/AF before you roll
In the Camera app, tap the subject, then press and hold until you see AE/AF Lock. In Blackmagic Camera, keep exposure manual and focus intentional. Re-lock every time the lighting zone changes (sidewalk to neon corridor, outdoor to lobby).
Unlocked autofocus at night is why clips “breathe.” Headlights trigger a hunt, the face softens for half a second, and the edit never feels intentional.
Light sources: design the frame around them
- Streetlamps and storefronts: put eyes near the edge of the pool of light, not dead center under a harsh top light.
- Neon and LED signs: great color accents; expose so the sign keeps color instead of clipping to a white rectangle.
- Car headlights and traffic: motion and streaks; keep them as accents unless you want the whole frame to pump.
- Phone or small LED: a tiny fill aimed at a face from camera left can save a scene without looking like a studio.
What is a simple night checklist before you hit record?
That is where a magnetic ND earns a quiet mention. The iPhone 3-in-1 Magnetic ND (ND8 / ND32 / ND64) is useful at dusk when 1/48 still overexposes bright skies or shop fronts. Once you are in true night, pull the ND off so you are not fighting for ISO.
When should you add the 1.33x anamorphic look at night?
Anamorphic glass does not fix bad exposure. For daylight phone-vs-camera context before you build a night kit, see our iPhone vs mirrorless camera test. It stretches the aesthetic: wider aspect after desqueeze, oval highlights, and horizontal flares when lights hit the element the right way. Put it on after you can already hold a locked, low-noise night shot with the native lens.
In the same tutorial, you will see the 1.33x Cinemorphic / Pro Cine Anamorphic as the look layer: enough widescreen character for social and short films without waiting for a cinema package.
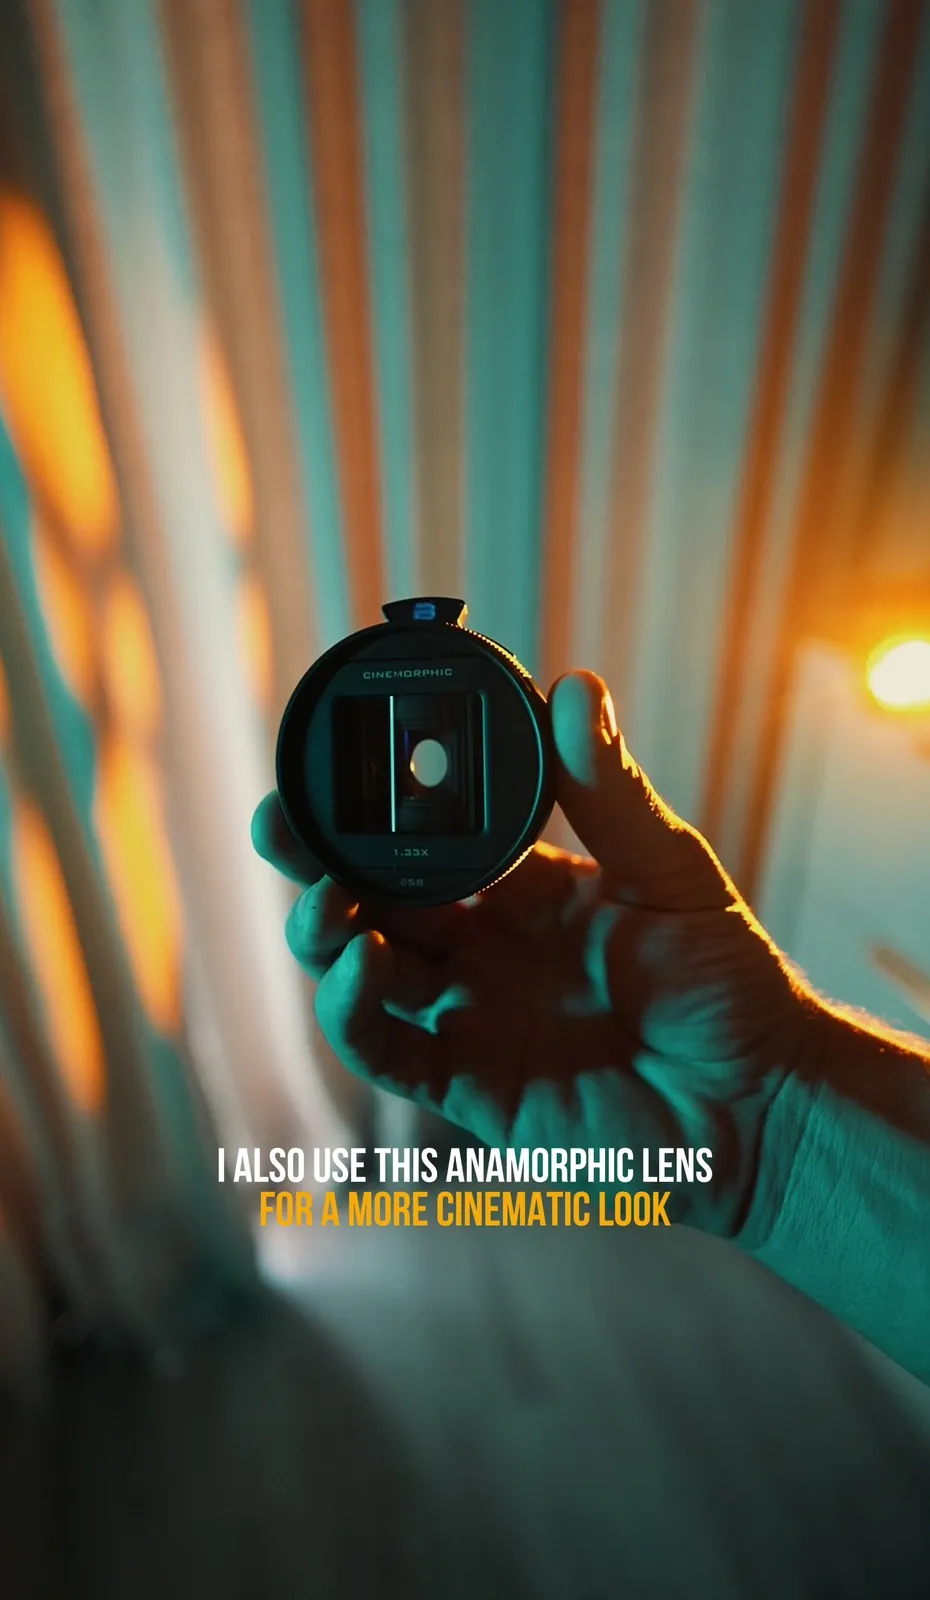
What 1.33x actually changes in the frame
- Horizontal squeeze: the captured image is compressed sideways. Desqueeze in your NLE or phone app to restore a wider viewing ratio.
- Oval bokeh and stretched speculars: points of light become more elliptical. City nights love this.
- Horizontal flares: streak flares across bright sources. Place neon, headlights, or a practical LED at the edge of frame and rotate slightly until the streak feels intentional.
- Focus discipline: many phone anamorphics want careful manual focus. Night makes that harder, so lock distance and mark your subject’s plane.
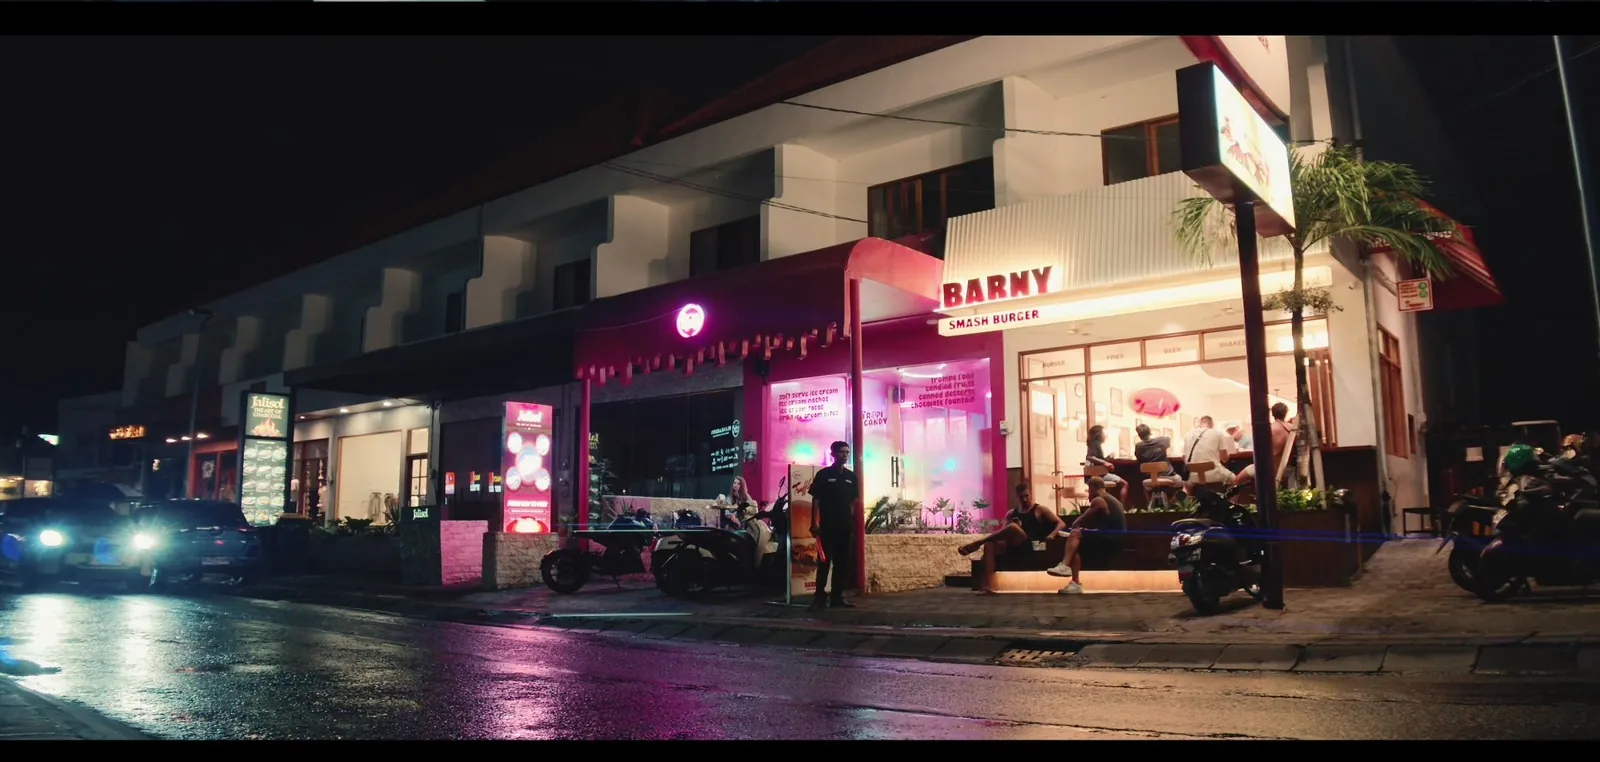
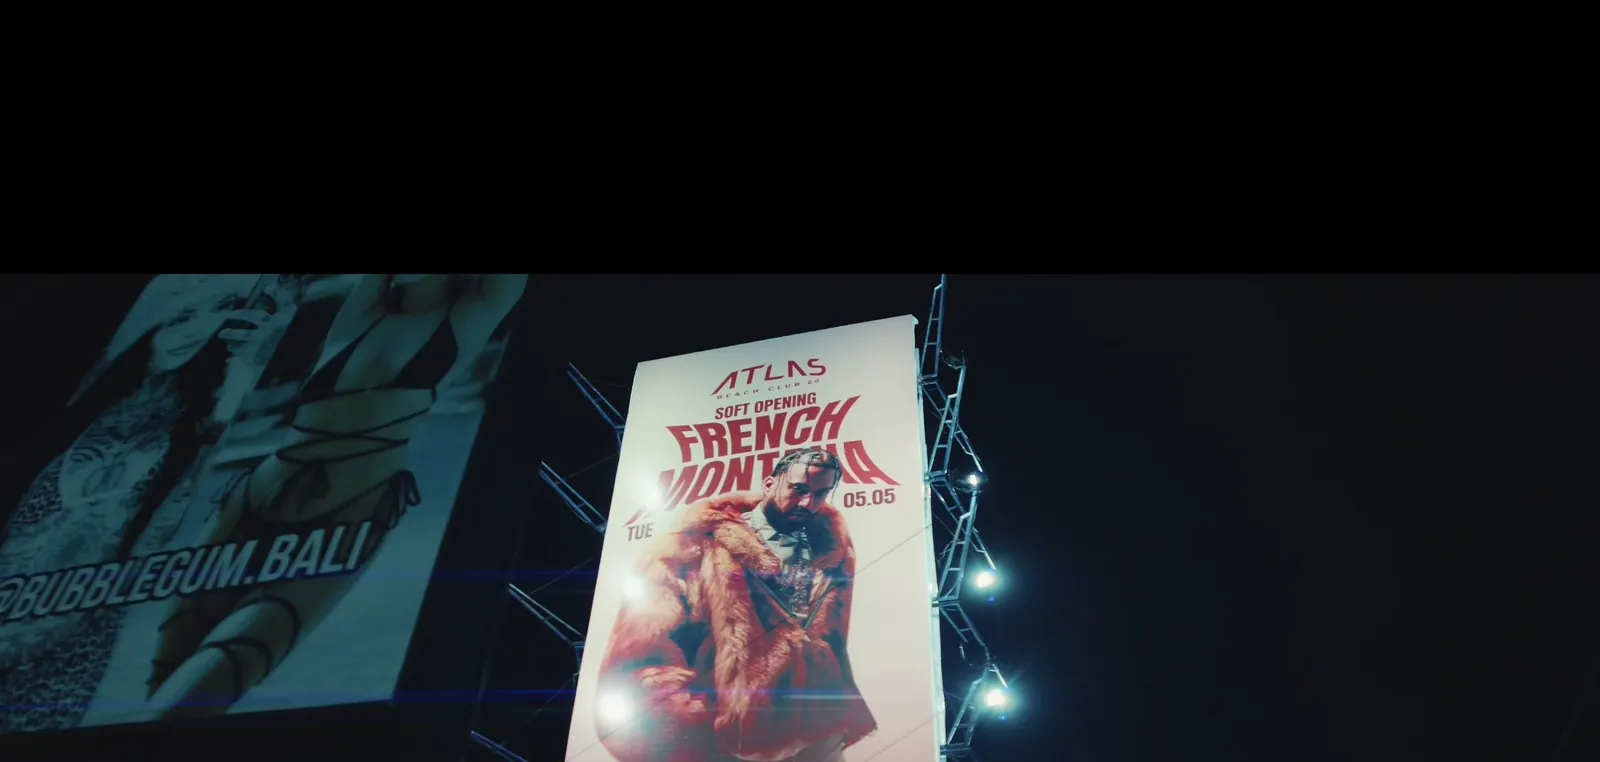
Night + anamorphic workflow
If you are building a full phone cinema kit, the Filmmaker Case is the hub (also useful with a mobile rig and Pro SSD Hub for longer takes): lenses and filters share the same mount language. On current bodies that means the iPhone 18 Pro Filmmaker Case or matching Pro Max case; older Pros use their generation’s case with the same idea.
What kit helps for night and dusk iPhone filming?
Buy for the problem you actually have. Night needs stability and clean exposure. Dusk may need ND. The anamorphic look is optional seasoning after both are solved.
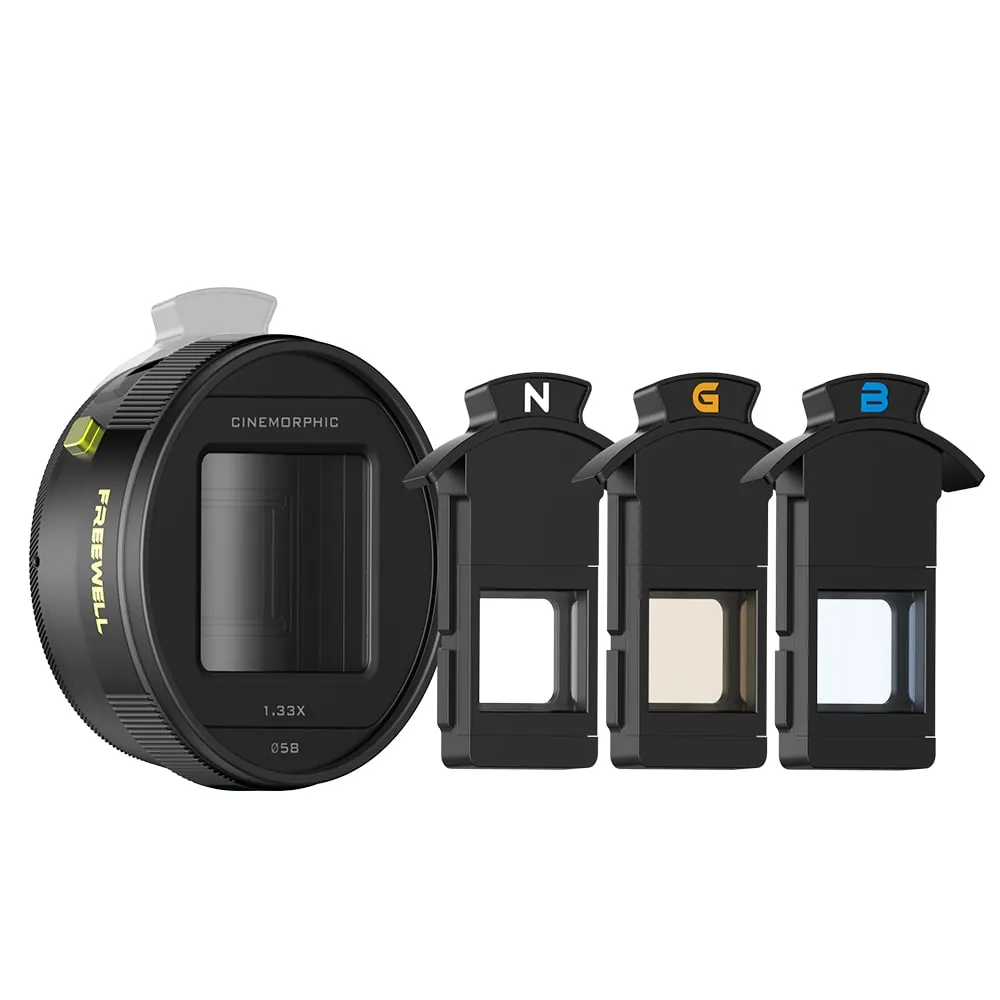
Widescreen look
1.33x Pro Cine Anamorphic
1.33x squeeze · cinematic flares · oval highlights · 3-in-1 system
$249.99
VIEW LENS →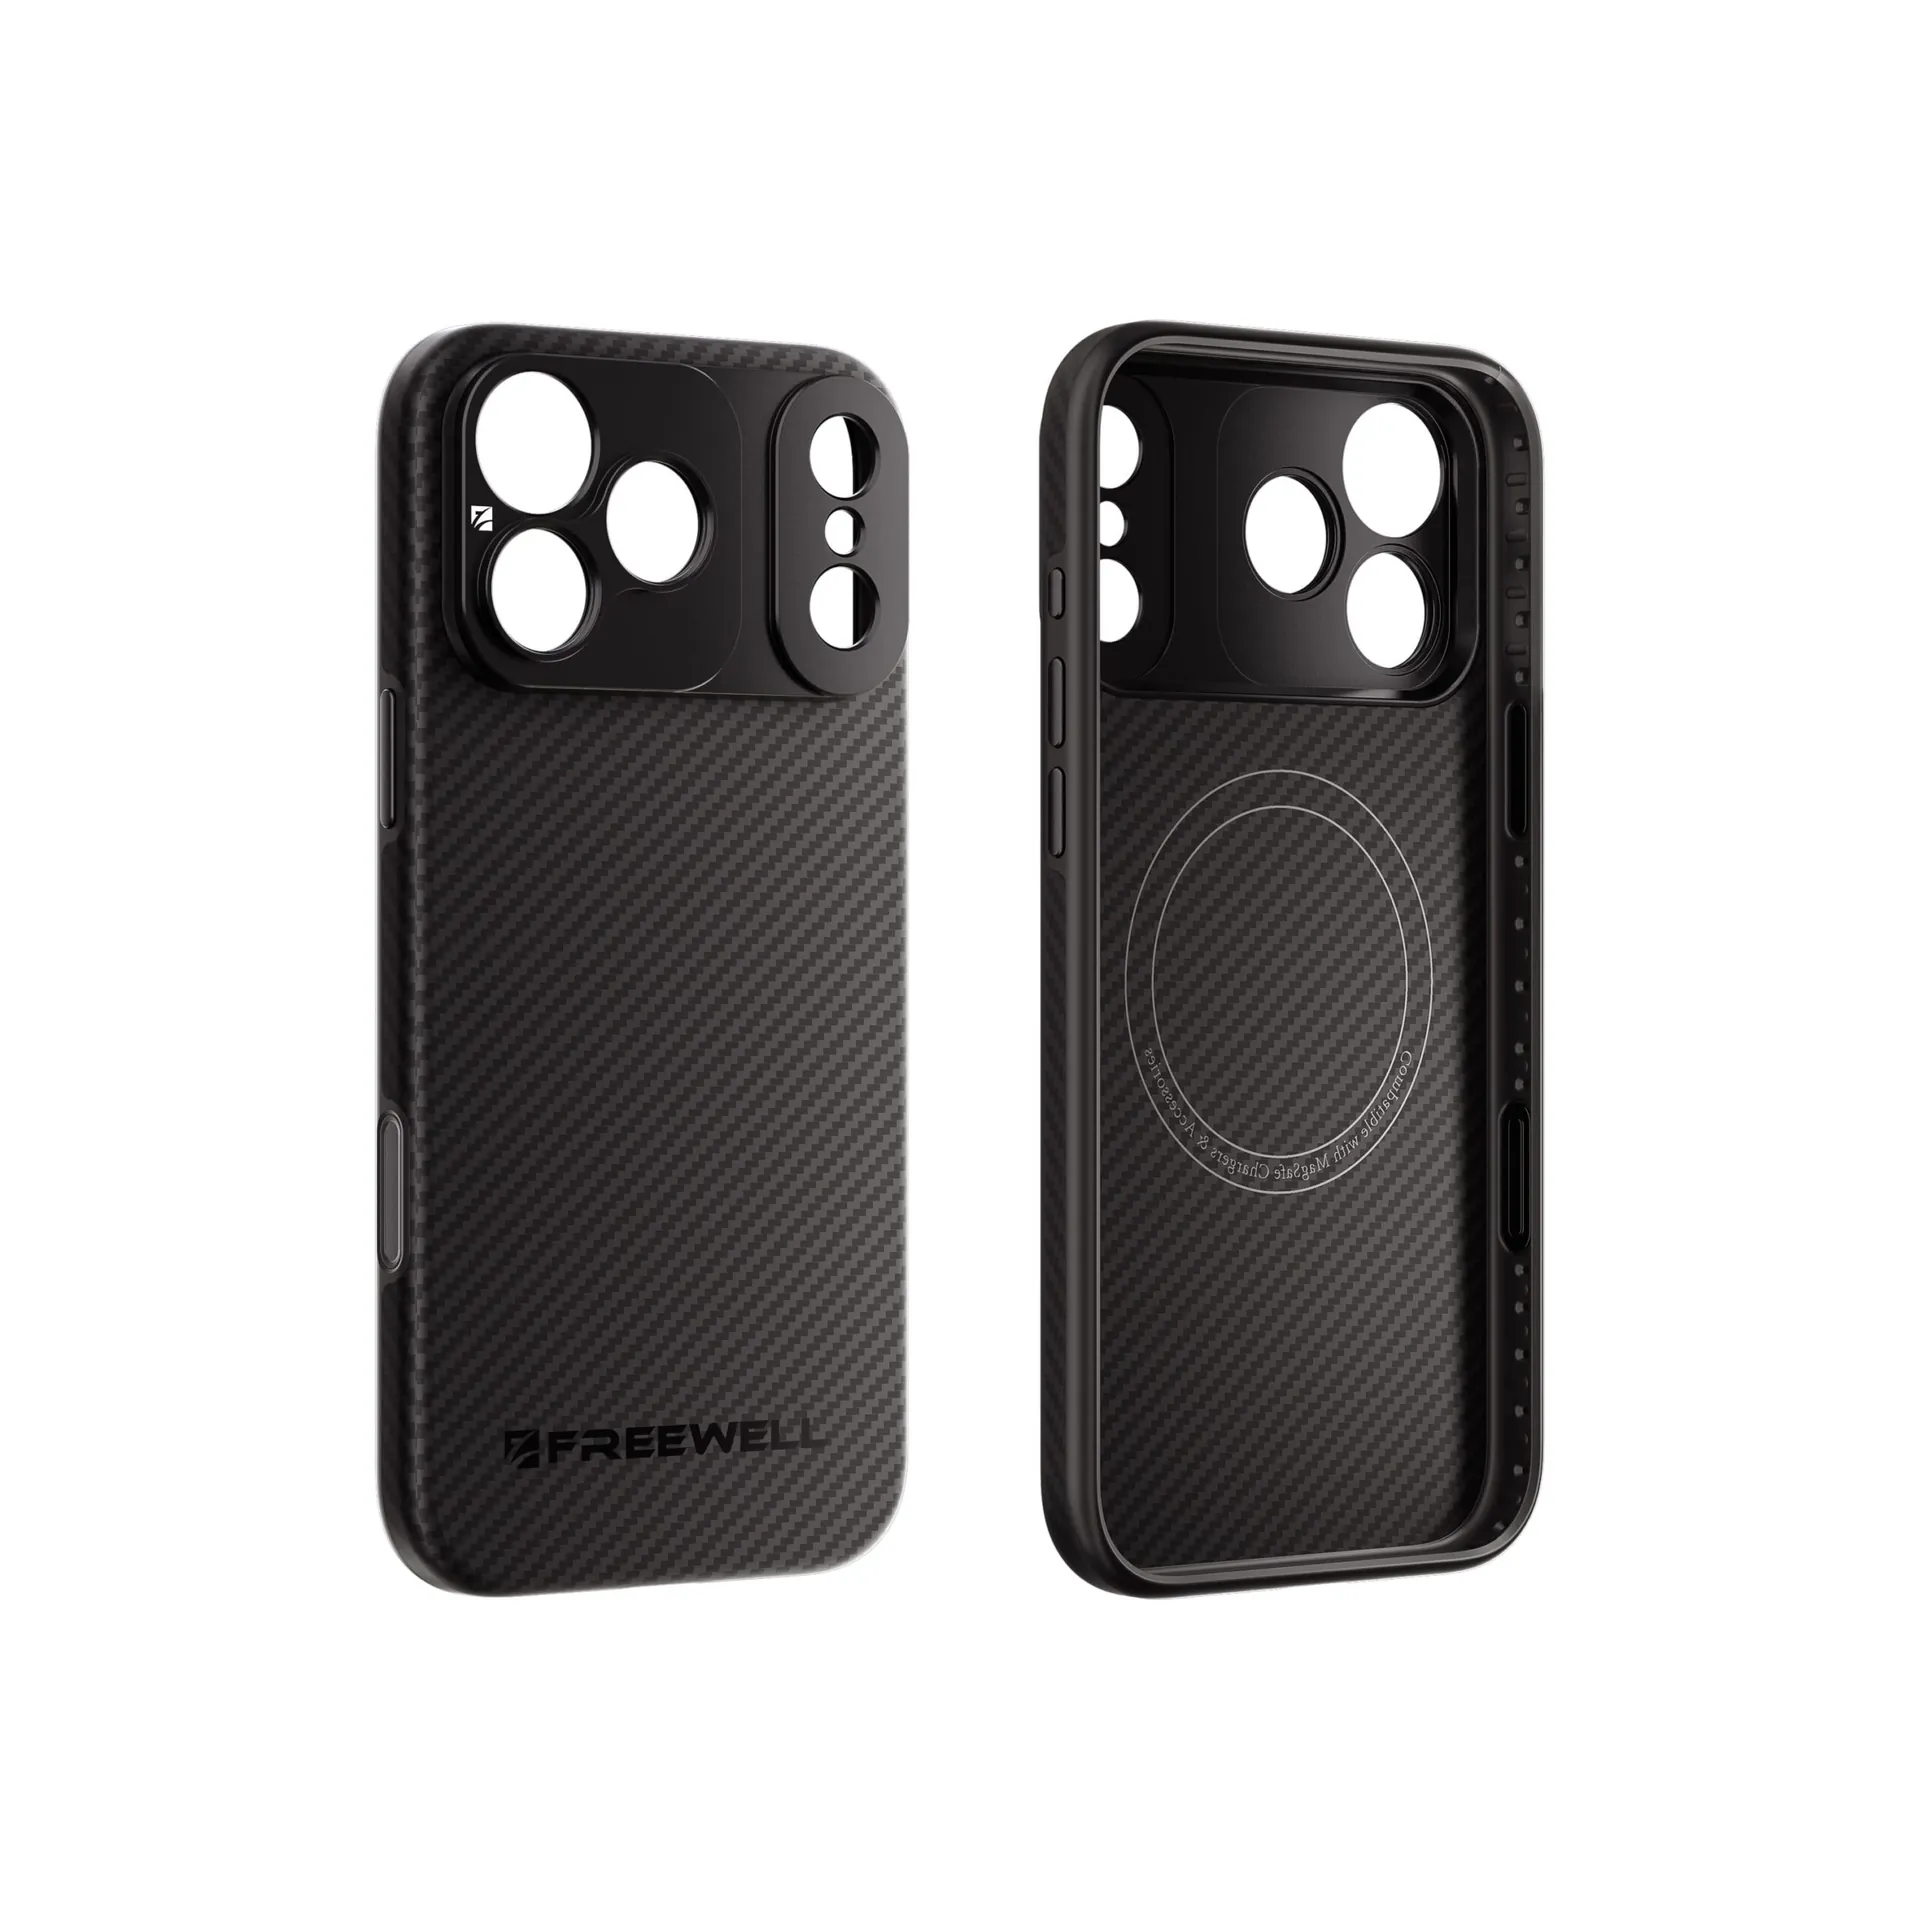
The mount
iPhone Filmmaker Case
Lens thread · magnetic filters · MagSafe · night-stable grip platform
$79.99
VIEW CASE →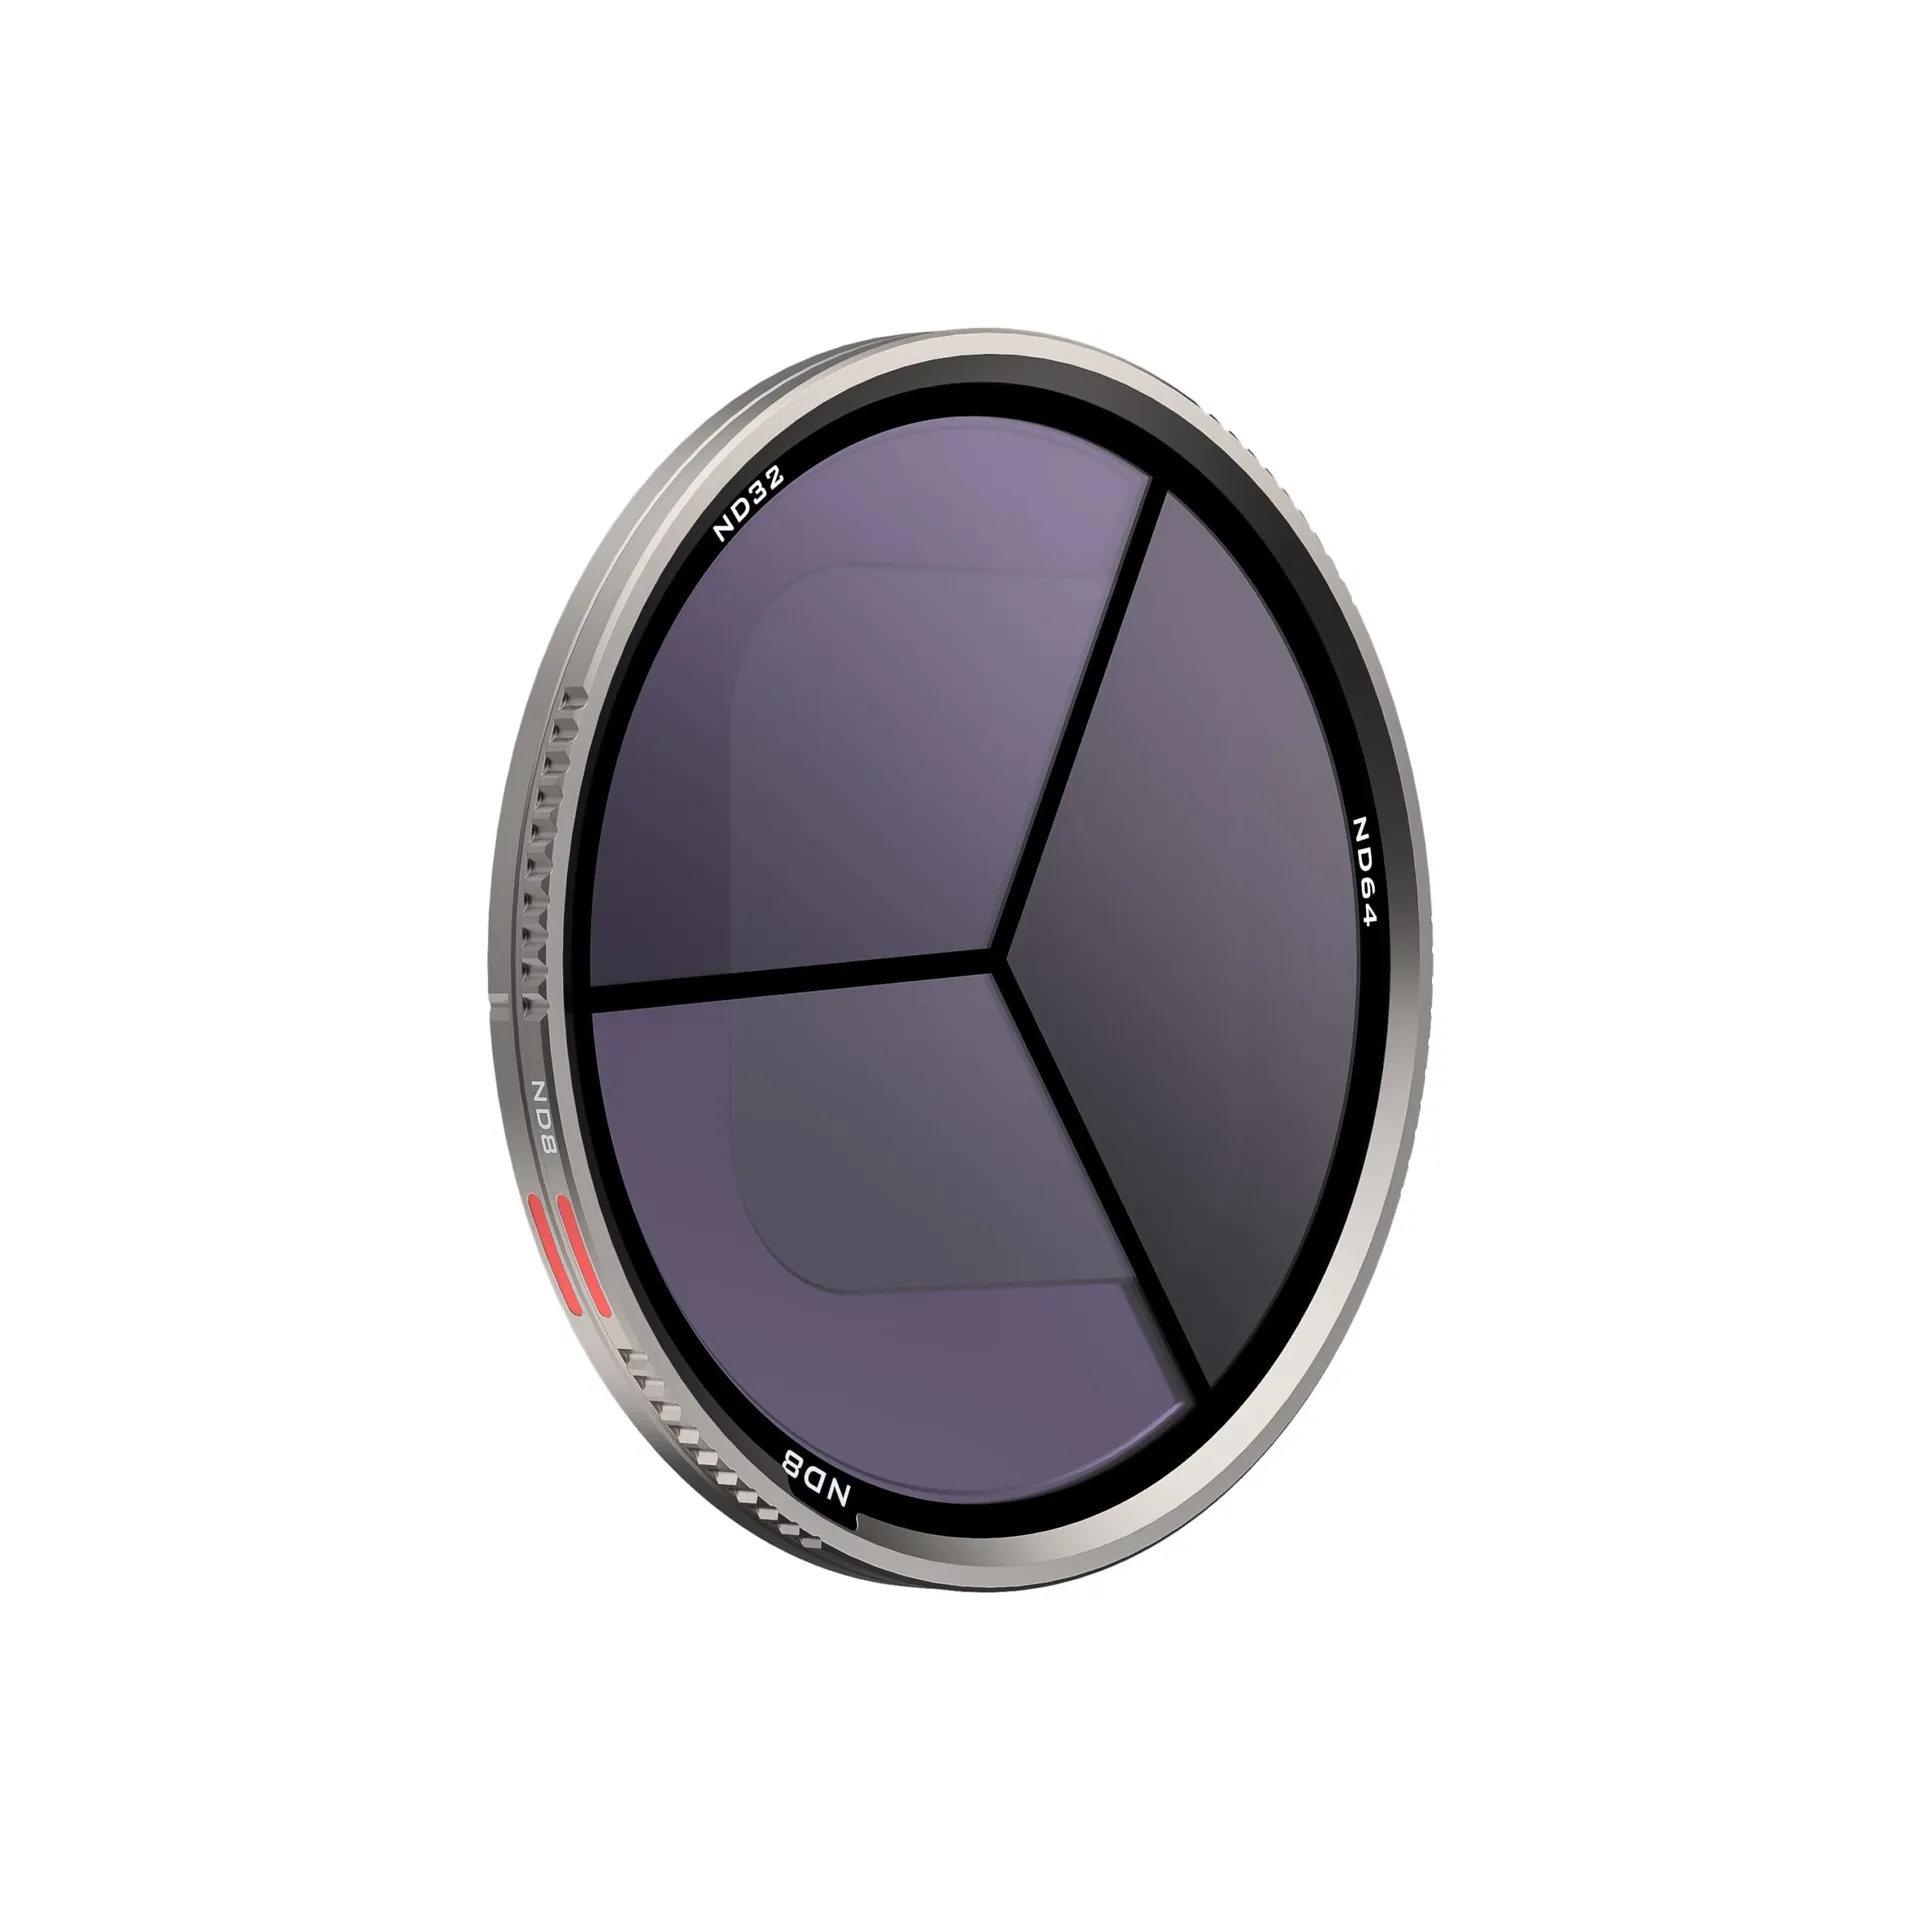
Dusk only
Magnetic ND8 / ND32 / ND64
Hold cinematic shutter at blue hour · remove for deep night
$79.99
VIEW ND →Want a ready cine bundle with case, lens path, and filters already thought through? Look at the iPhone Genius Rig Cine Kit when you need handling plus optics in one package. For most night learners, case + locked settings + optional 1.33x is enough.
Final thoughts
Clean night filmmaking on iPhone is a discipline problem more than a gear problem. Lock AE/AF, set shutter before ISO, shape the frame around real light, and accept black as black. When that baseline is solid, a 1.33x anamorphic lens earns its place: wider storytelling, intentional streaks, and a look that feels planned instead of filtered.
Start tonight with the native lens and a locked exposure. Tomorrow, mount the anamorphic and give one neon sign a single, deliberate flare.
Night first. Look second.
Lock the exposure.
Then earn the flare.
Case for the mount, ND only at dusk, 1.33x when the clip is already clean.
EXPLORE 1.33X ANAMORPHIC →